Testing the Winemaking Process
Follow along as our winemaker, Margaret, and our CEO, Peter, walk us through the winemaking process. They created several test batches to check each of the winemaking steps.
Introduction: Test Batches
During the winemaking process, many variables can be adjusted to allow full expression of the potential characteristics of the fruit. Your perception of a wine is affected by aroma, body, mouthfeel, acidity, colour, alcohol percentage and sweetness. Throughout the winemaking process, these characteristics can be expressed more fully or tempered to allow for a balanced and complex product. Follow as we conduct many test batches in an effort to check our procedures and solidify a plan of action for the large tanks and primary fermenters.
The following photos show the orchards in full flower and then netted to prevent the birds from eating the Haskap berries.
Day 1: Primary Preparation: Test Batches
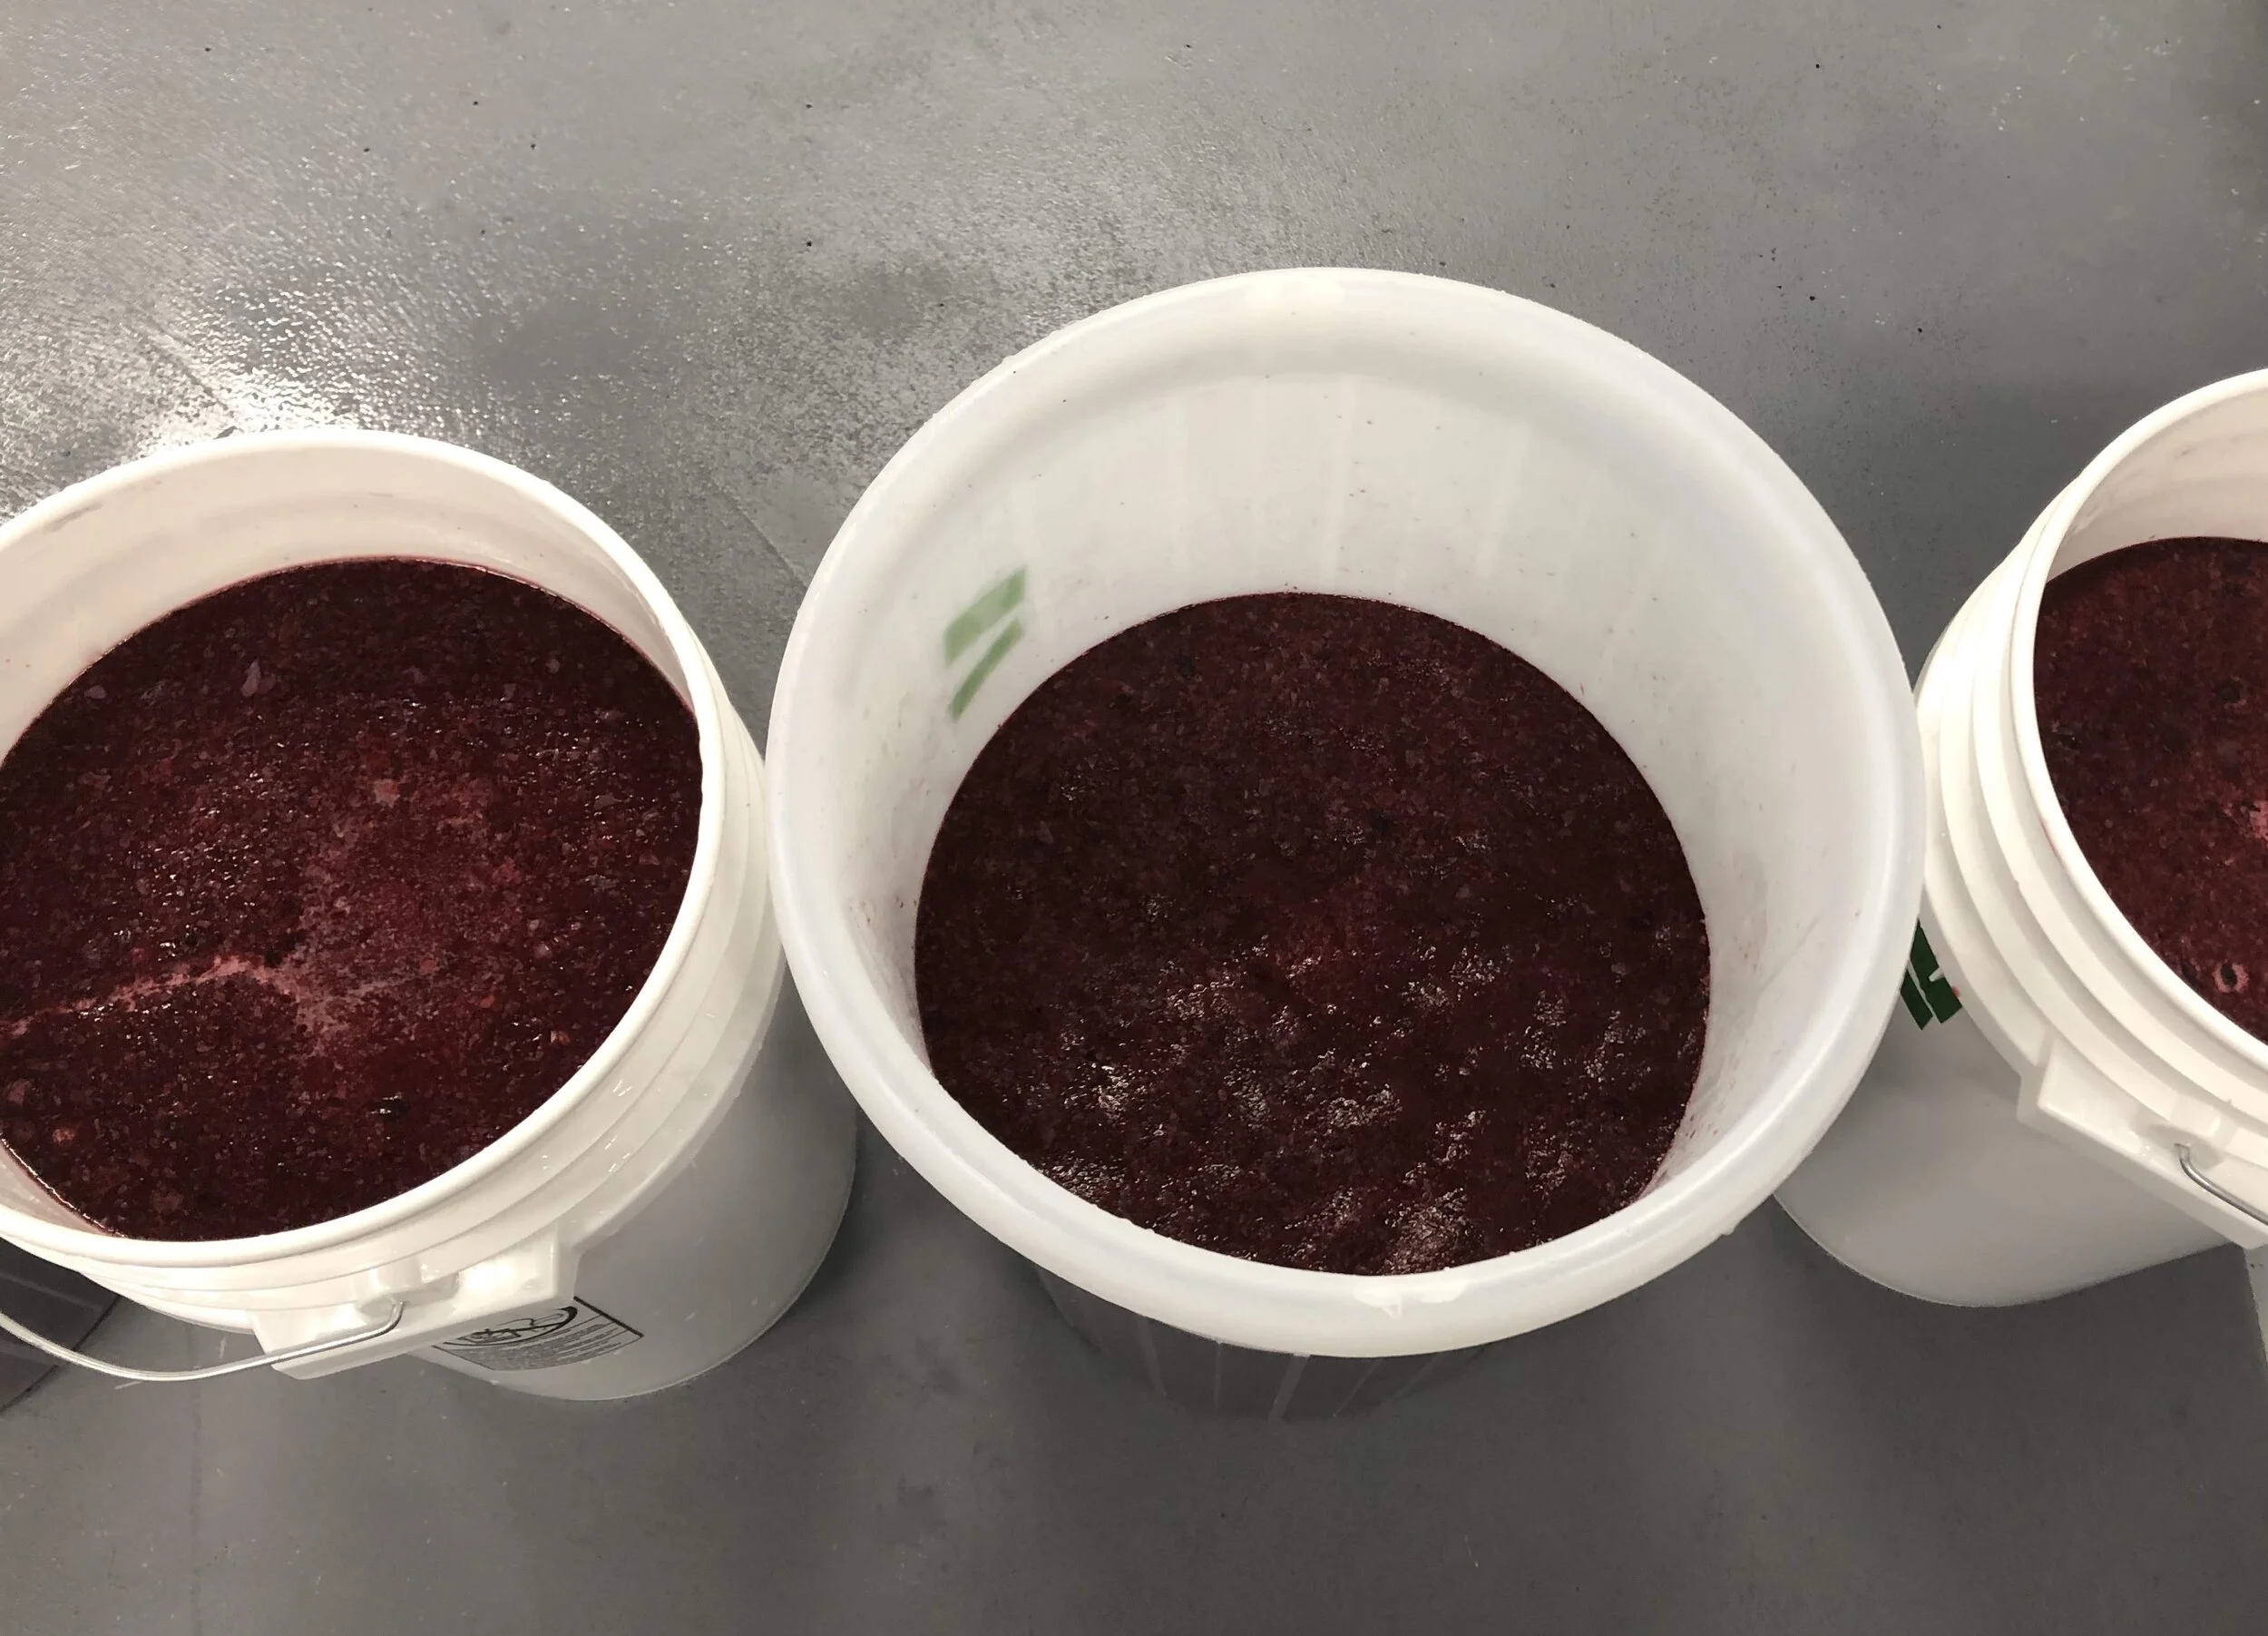
Pitching the yeast is probably the most exciting part of the journey as any Winemaker can attest to. After the berries were crushed, tested, amended, allowed to settle a bit and divided into 6 separate test primaries, we pitched the experimental yeasts. For the first set of tests, we used 3 separate yeasts. The front primary of each twin set of buckets is a ‘control’ and the back primary is the experimental bucket for additions. By the next day, all six should show some activity indicative of early fermentation. The time before the yeast begins multiplying is known as the lag phase, and it can be prolonged for various reasons. Then the yeast multiplies exponentially during the log phase. Once the yeast multiplication reaches a crucial level, it will begin to transform sugar into alcohol.
What is a primary? Referred to in the winemaking world as the primary fermenter, or where the business of alcohol fermentation begins. Since this is a messy business with a lot of foaming and CO2 production, primary fermentation is usually initiated in open top containers to allow for twice daily punchdown and quality checks. It is at this time that the Brix (sugar/density check) and temperature are graphed to ensure fermentation is progressing properly.
Day 2: Daily Maintenance and Progress Reports: Test Batches
Daily maintenance of the wine now involves punchdown 2-3 times a day. One of the byproducts of the fermentation process is C02. As it escapes, the fruit solids rise with it. The solids in the cap also happen to contain most of the colour, aroma and body characteristics of the wine, so we want the liquid to be exposed to them to expedite their extraction. We also check the temperature and the Brix.
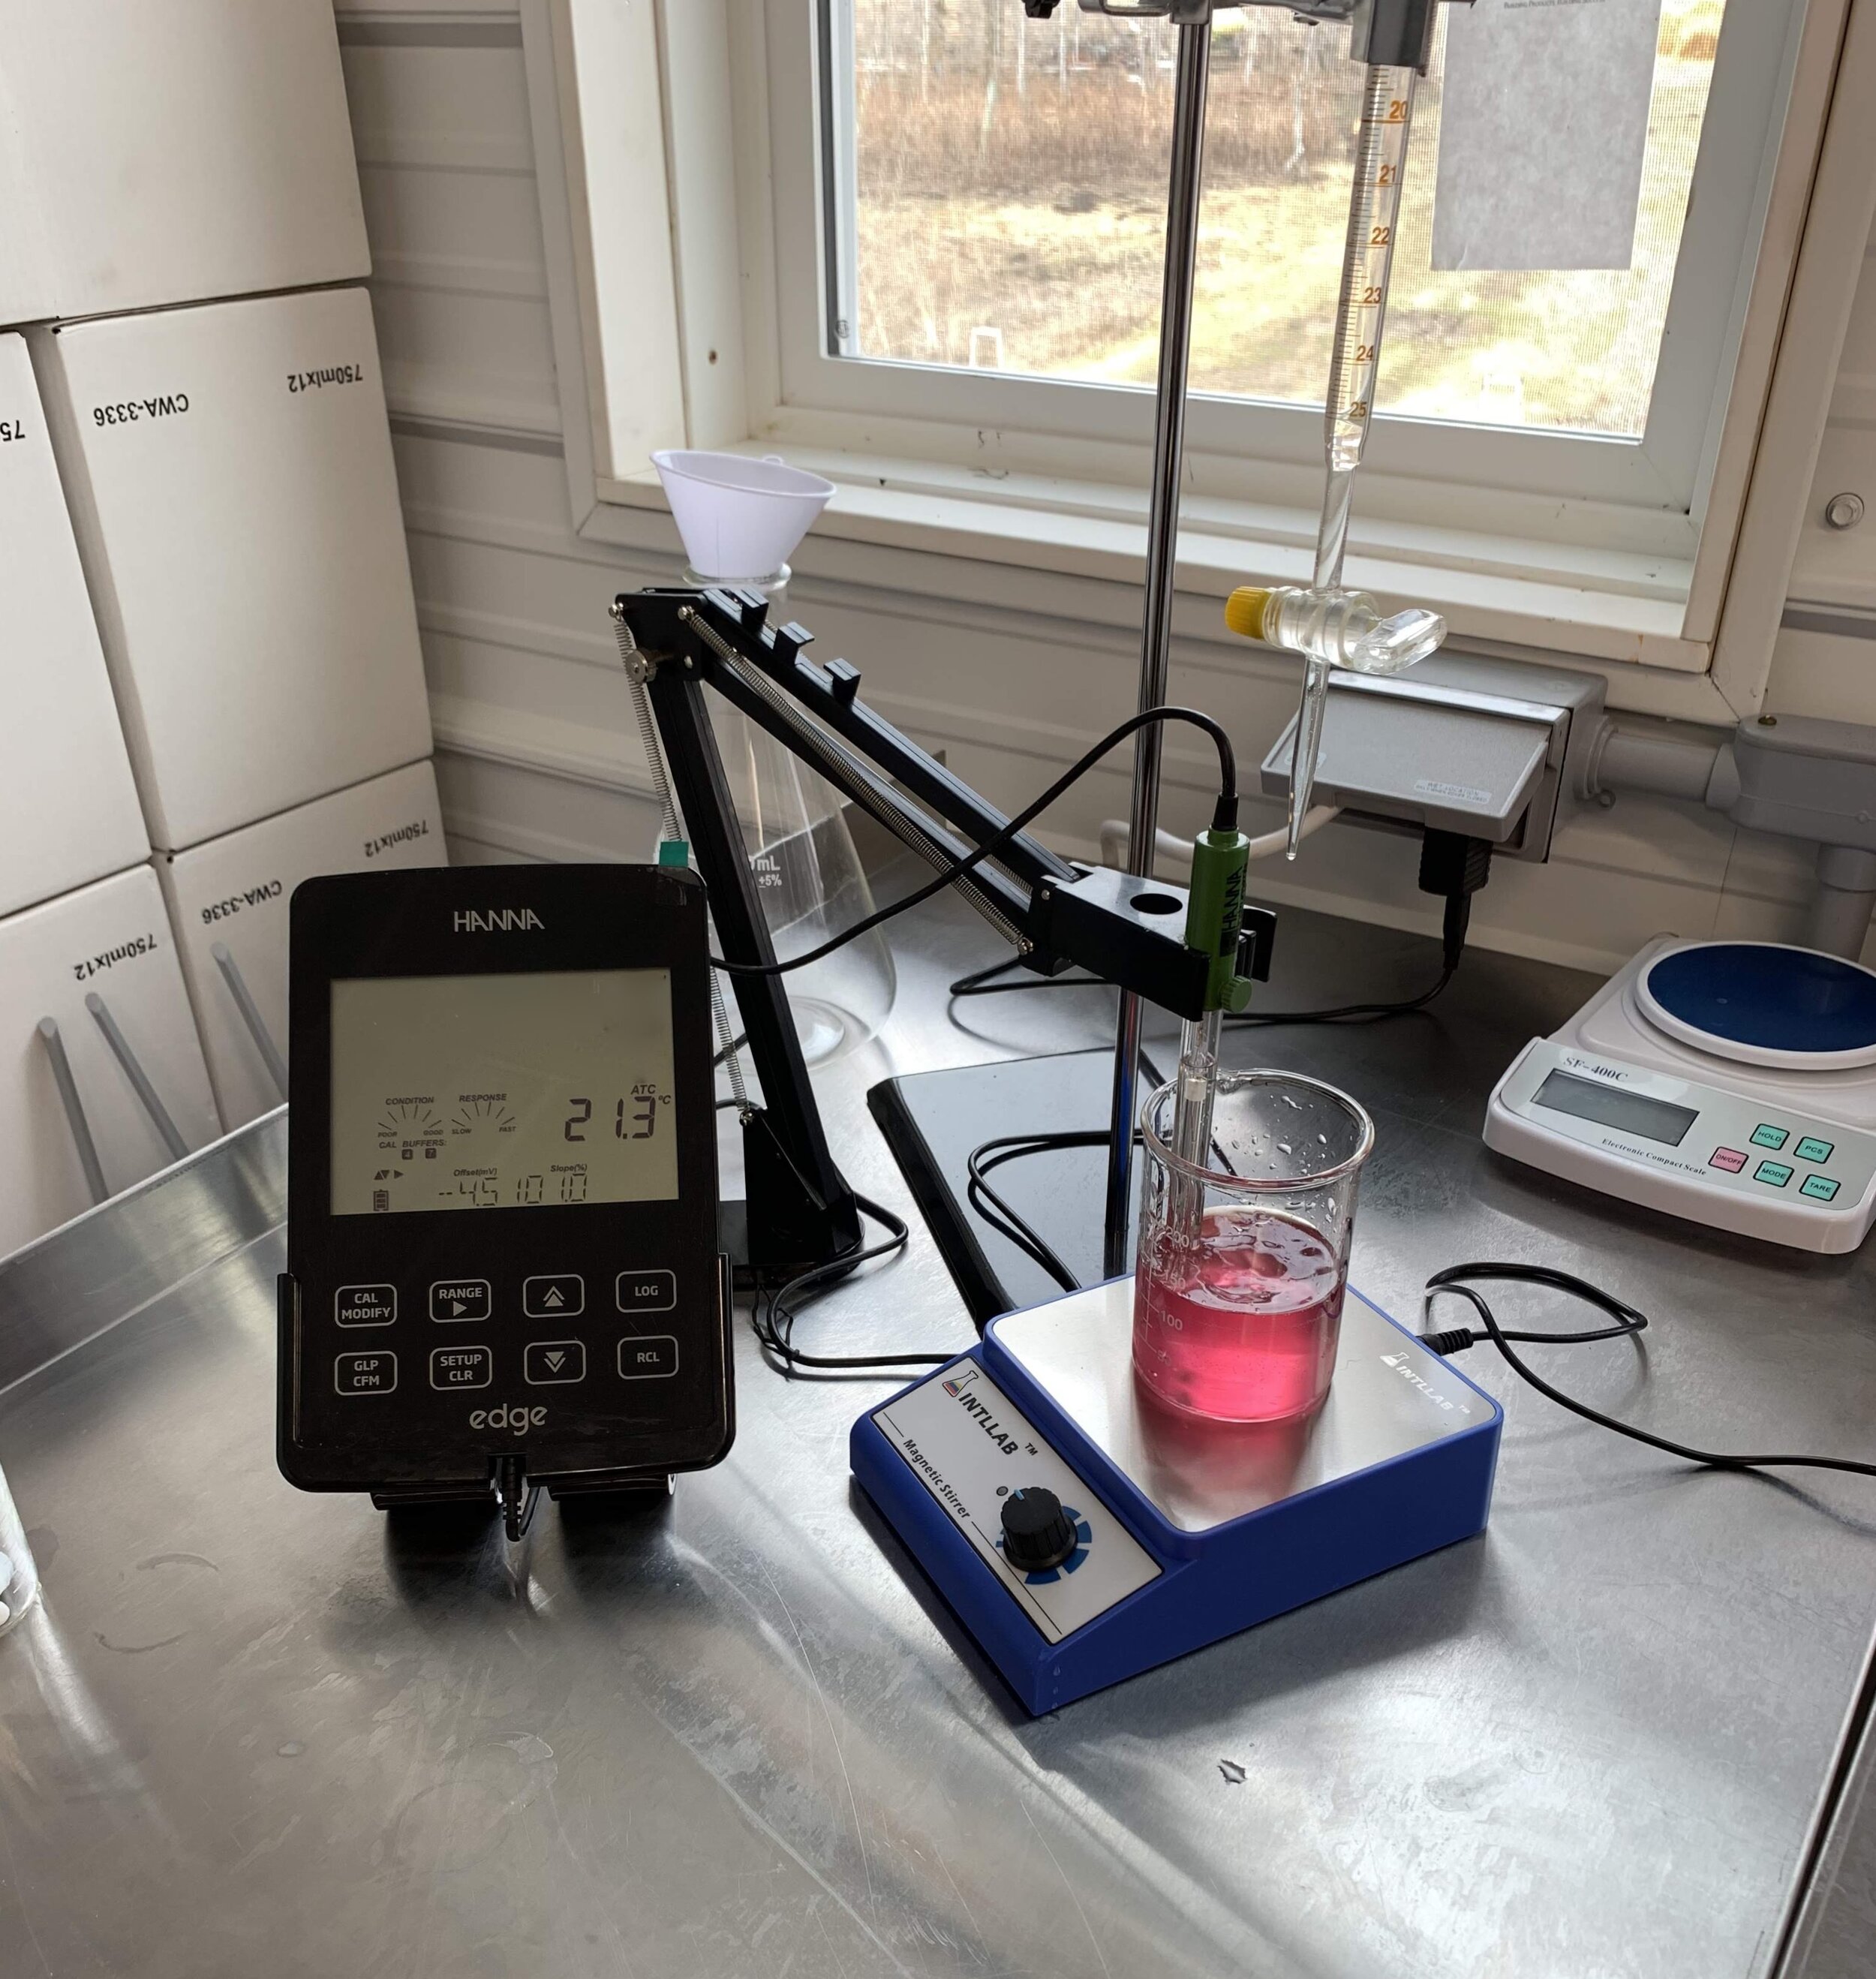
We also check the titratable acidity of the wine which will give us the approximate acid content. Too high a pH creates an environment in the wine we don’t want. We also don’t want our wine to be too sour or too flabby, so getting these numbers correct from the beginning will perfect the balance we are looking for.
Day 3: Measurements and Decisions Based on Bench Trials: Test Batches
Once a day we check the Brix (density of sugar remaining), the temperature and pH of each test batch. The temperature needs to be controlled - if fermentation runs too hot, the yeast will die; if the fermentation runs too cold, it will slow down and may even ‘stick’. A stuck fermentation is the bane of every winemaker’s existence (except maybe for fruit flies). The Brix determination and what we do with it can be found in our Brix post.
All three parameters (Brix, temperature, and pH) are graphed daily, giving a visual representation to monitor each batch’s progress and take corrective action as required. Acidity (titratable) is measured less frequently, but it is a good indicator of one of the more crucial parameters winemakers consider when assessing wine and fruit.
Please follow the link to learn more about Bench Trials.
The following video shows what Haskap looks like during the fermentation phase.
Days 4 - 7: Fermentation: Test Batches
The next phase consists of doing thrice daily punch-downs and once daily Brix, temperature and pH assessments. These three parameters are monitored until the wine ferments to dryness, or all the available fermentable sugar is processed and all the potential alcohol is formed. Adjustments are made according to all tests and parameters, including visual.
The following is an example of a Fermentation Curve, graphed in Excel. Visual representation makes it easier to see progress and understand if and when things are going wrong so they can be fixed before they cause bigger problems. Winemakers learn to interpret these graphs and figure out when the expected curve is veering and will quickly run an assessment to figure out why. Many reasons exist that could possibly skew the curve or even cause stuck fermentation. This is not an exhaustive list, but it gives you an idea of how we trouble-shoot Fermentation Curves that aren’t doing what they are supposed to.
The time before the yeast begins multiplying is known as the lag phase; in this graph it is represented by the straight line from Day 0 to Day 1 and it can be prolonged for various reasons. Then the yeast multiplies exponentially during the log phase (Days 1-6). Once the yeast multiplication reaches a crucial level, it will begin to transform sugar into alcohol. At the end, from about Brix 10 or so (from Day 6 on the graph),the yeast cells slow their multiplication and fermentation slows a bit. At this crucial point, it is important to track the curve carefully, observing for evidence that the yeast is not nourished correctly, and taking action to provide the required nutrients in the proper format. Studies have been conducted many times which allows Winemakers to use the data to amend the must appropriately so that fermentation continues to completion.
Day 7: Pressing: Test Batches
Please follow the video for a more detailed visual representation of the pressing process.
Decisions: The decision to press is governed by the winemaker’s stylistic goals and laboratory testing; sometimes the results of testing indicate that action must be taken earlier than later. The original intent for this wine was to continue berry maceration past the end of fermentation (called extended maceration). Because the acidity was rising and creating a tart taste, and the skin components were adequately extracted, the decision was made to press on this day. The acids can be adjusted somewhat, but over-extraction of skin tannins and other variables would give a somewhat harsh and biting character to the taste profile. In this particular case, it was decided to use the free run going forward, reserving the press fraction for later use as it has too strong a profile for the stylistic choice.
The Press: The winery has an 80 L bladder press which was sanitized and assembled on a pallet. The receiving bucket is at the end of the funnel at the base of the press. The water hose is attached to the inlet and there is a gauge monitoring the pressure of the water in the bladder.
Pressing Terms
Bladder Press: inside the press is the vertical brown bladder which is connected to a hose. A pressure gauge monitors the pressure of the filled bladder as it presses the berries against the sieve side of the press, extracting the juice/wine.
Free Run: this is the juice/wine that runs freely with no pressing.
Press Fractions: this is the juice/wine that runs after pressure is applied. Large scale winemakers will even do several press fractions, one at lower pressure, and some at increasingly higher pressures, switching the receiving vessel between pressure gradients to obtain specific press fractions that will be used for different purposes such as blending, distilling, fermenting as a separate batch, and so on. In this test, a single press fraction at 50 pound pressure was done.
Pomace: this is the leftover pulp, seeds and berry skins after pressing is complete. Some winemakers call it a pomace cake. It is most often returned to the orchard and composted into the soil as an amendment to soil health.
Day 11: Secondary Fermenter: Test Batches
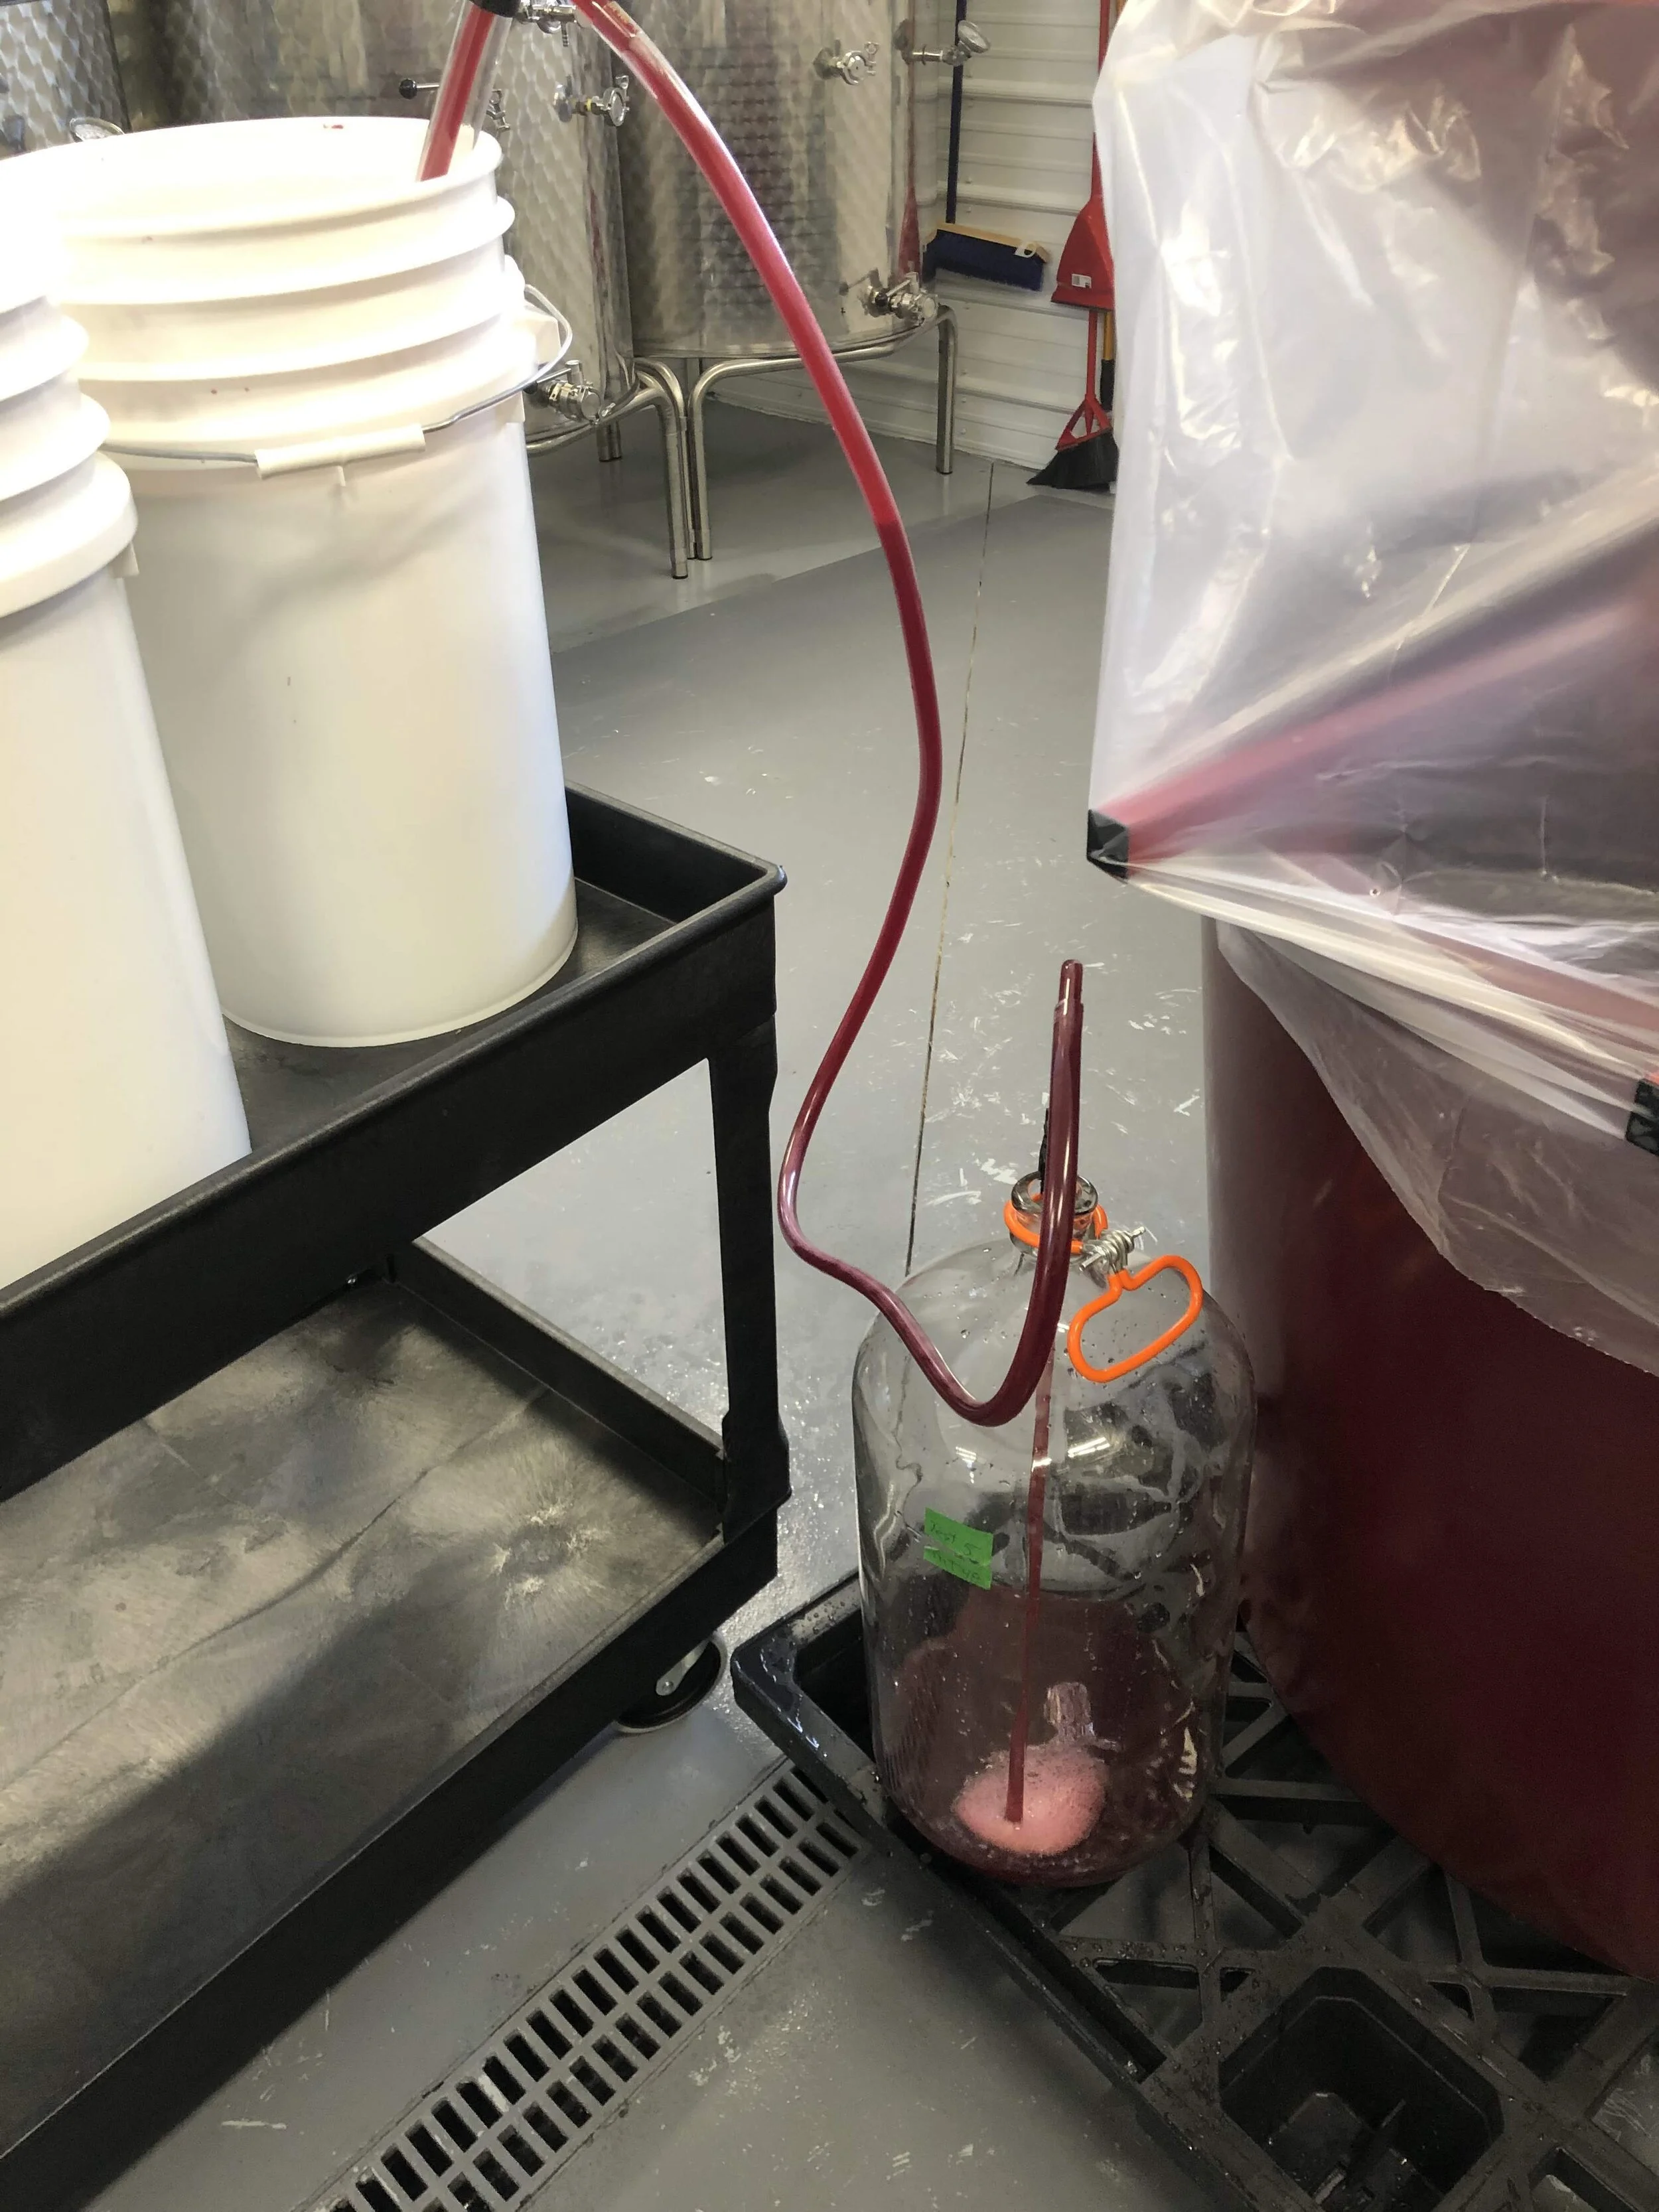
Please follow along with the video to see test batches being racked into secondary fermenters called carboys. Wine is considered ‘food’ from a health and safety standpoint and all safe food practices must be followed.
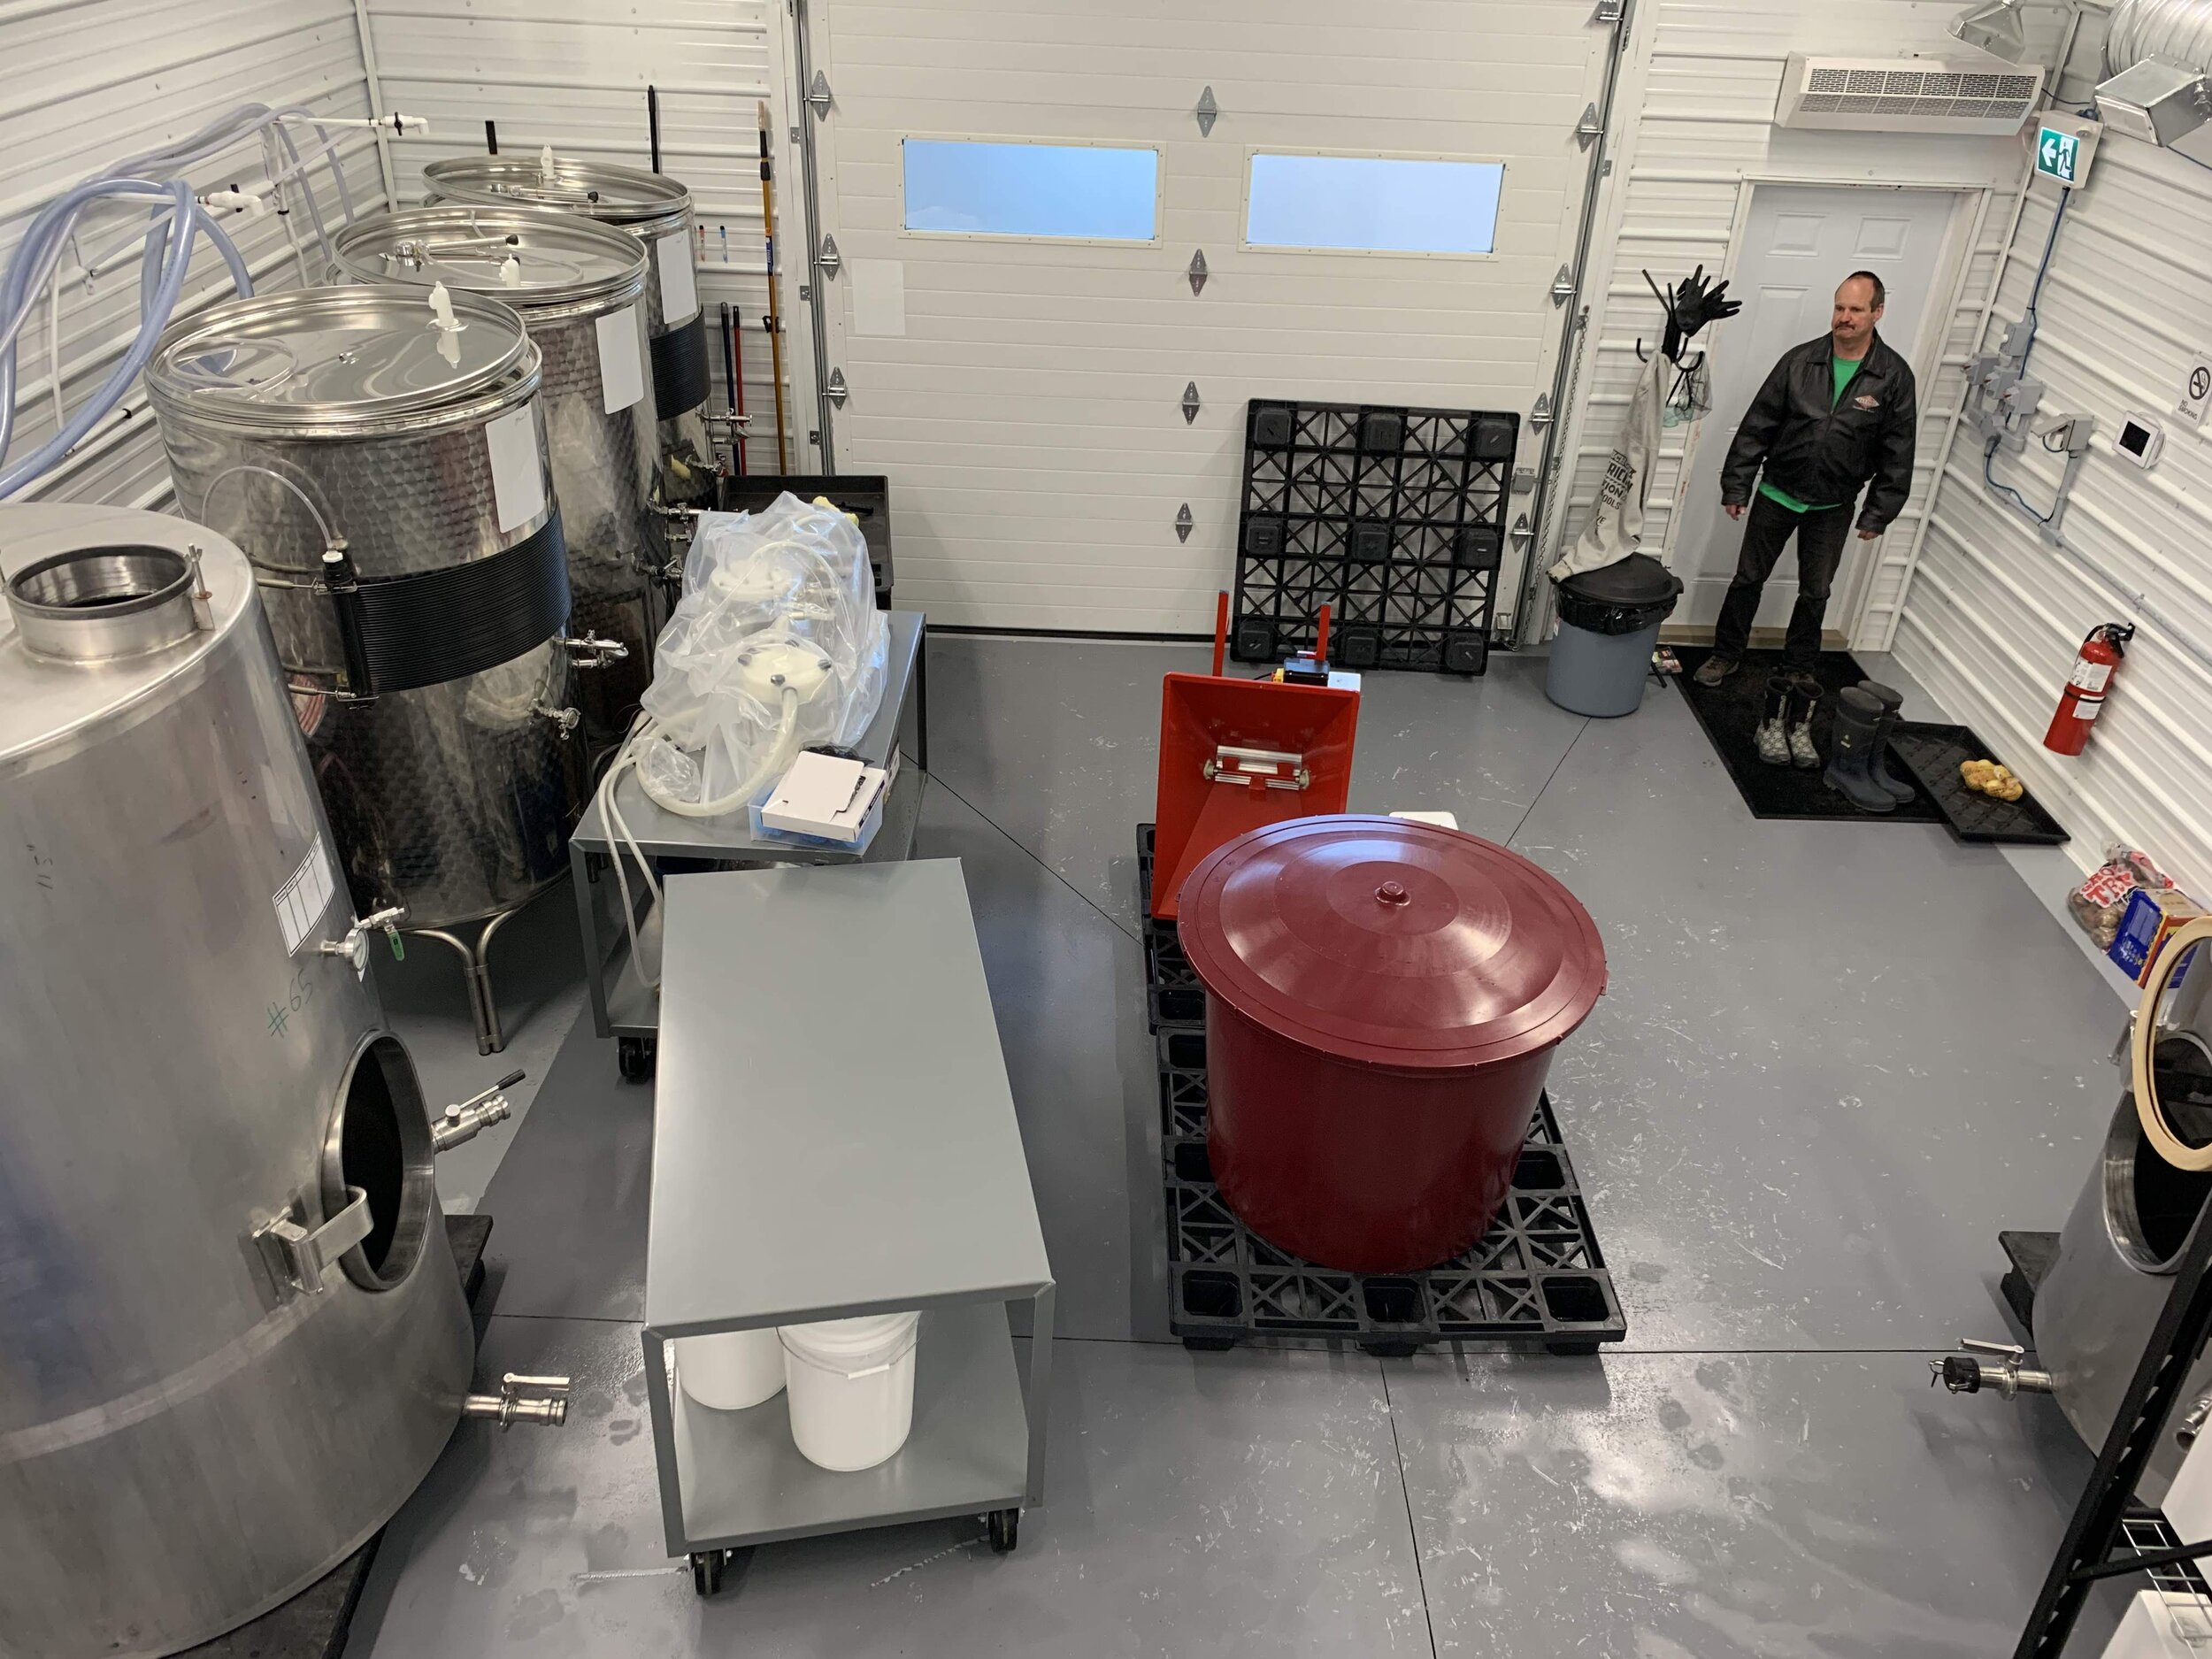
Remember that these are test batches, and the big batches will be conducted on a much larger scale, including pumps and large hoses instead of siphoning, professional 1,000-2,100 L+ fermenting tanks, etc. The test batches allow for verification of defined processes, including lab work and food safety, and to become familiar with all equipment.
Racking Terms
Racking: the process of moving wine from one container to another so as to leave the lees behind.
Lees: the sediment at the bottom of the wine, mostly composed of dead yeast cells, wine skins, some protein, seeds and precipitate from chemical reactions (such as the chemical “salts” formed like calcium malate).
Secondary Fermentation: recap: the primary fermentation is the formation of alcohol in the primary fermenter until the Brix is somewhat close to finishing, usually around 5 to 8 Brix (or 1.010 to 1.025 sp gravity). At this point, the foaming and aggressive action is slowing down, and the carbon dioxide can no longer be depended upon to blanket the top of the wine, protecting it. So we rack into the secondary fermenter to finish the fermentation, use up all the sugar, clean the wine off the lees, and stabilize, clear and polish the wine.
Second Fermentation: this is not to be confused with secondary fermentation (although many people use the words interchangeably). In fact, true second fermentation involves no yeast at all, and relies on the action of a bacteria to process the malic acid. The stylistic goals of the winemaker will determine if MLF (malolactic or second fermentation) will be conducted at all. Like yeast inoculation, wine can be inoculated with a special bacteria, called malolactic bacteria, to perform this work.
MLF: see second fermentation. Please follow the link below to learn more about the MLF process.
Carboy: shown in the video as the glass rounded vessels to which the wine is siphoned, usually used only as secondary fermenters as they will overflow if used as primaries.
Fermentation Lock: a finely engineered system which prevents the back flow of air and CO2 into the wine, allowing the byproduct CO2 to escape and keeping the wine free of oxygen, literally locking the fermentation off-gassing into a one-way system.
Days 12 - 21: Fermentation Complete and New Batches Started: Test Batches
Fermentation of Initial Test Batches Complete: Once the first 6 batches were finished fermenting, as indicated by a specific gravity below 1.000 (or a negative Brix), the final processes leading us to a polished and quality consumer-ready product were begun.
Decision to Start New Batches: In the interim, a decision was made to start an additional 6 batches and re-work the process to achieve less acidity, reduce astringency and heighten colour. Specifically, it was determined to press earlier, mixing in sugar later, and other time-related activities that would affect the finished product.
Please see our link for information on acid control.
August, 2020: Finalization of Test Batches and Starting Large Scale Fermentation
Following literally dozens of test batches, some of which were discarded and some of which will be blended into the final large batches, the decision was made to initiate full-scale fermentation, starting with 2020s harvest in late August, 2020, and then using 2019s frozen fruit in late September, 2020. You can follow along with our full-scale fermentation in our next posts.
New Terms
Specific gravity: Specific gravity (referred to as Brix) is the weight of the fermented wine as compared to the weight of R/O (or distilled) water. Specific gravity of 1.030 is 1.03 times the density of water. Since alcohol in a solution will cause that solution to weigh less than water by itself, the final specific gravity of the wine can also be used to determine the alcohol content of that wine, particularly after a small sample is distilled. Specific gravity in the below 1.0 range (such as 0.996) is a somewhat unreliable indicator of the completion of fermentation.
Fermentable sugars: Must contains several sugars. When the sugar content of the wine is measured to determine if fermentation is complete, a winemaker will say this is less than a gram or two per liter. There are sophisticated tests to determine if the remaining sugar is fermentable sugar. The remaining unfermented sugar is called residual sugar. In order to amend the wine with additional sugar, the yeast must be taken out of the wine, or inactivated. Otherwise, fermentation could re-start in bottle and cause C02 bubbles and possibly burst the bottle (in the case of sparkling wine and beer, this sugar addition is done deliberately in a controlled fashion so the bubbles are produced).
Ferment on fruit: the choice to press early (before fermentation and after a short maceration) is a stylistic one, dependent on the nature of the fruit and the goals of the winemaker. We have found that Haskap tends toward too much acidity and rougher character extraction if macerated too long, or fermented on much fruit at all. In fact, we’ve experimented with variations in the amount of fruit left to ferment, all the way to fermenting on pressed fruit juice only. This may change depending on each year’s harvest, which will be assessed separately.
Mid-palate body: the middle of the mouth and tongue where the sensation of acidity and astringency are perceived, as well as the less defined ‘body’, which is often attributed to polysaccharides, glycerol and other less defined attributes in wine.
Maceration: fruit or wine liquid left in contact with the crushed fruit, extracting skin colour, tannins and possibly acidity. The decisions to prolong cold soak maceration and/or maceration following fermentation are dependent on fruit type and stylistic choices.
TA: titratable acidity is the measure of acids in fruit juice and wine, using a laboratory process called titration. In theory, the value is compared to tartaric acid in grapes, although fruits other than grapes contain none.


